

Paruppu Vadai, a traditional neivedhyam (Offering to God) recipe that we usually prepare for any auspicious occasions or festivals. We add three types of dals – Channadal, Urad dal and Toor dal to make this recipe, hence it’s also called as Mixed Dal Vada or Mupparuppu Vadai. As we are preparing this Paruppu Vadai for the offering to God, we are not going to add Onion, Garlic or any Masala items.
Masal Vada is another type of Paruppu Vada, where we usually add onion, garlic and other masala items. Masal Vada is a very popular street side snack in Tamil Nadu and commonly available in every tea shops. In this recipe of Paruppu Vada we don’t add any masala items/onion but still it’s very crunchy and tasty.
Tips for making Paruppu Vadai:
- Soak the dals atleast for 3 hours.
- Drain the water completely before grinding. We don't need to add water while grinding.
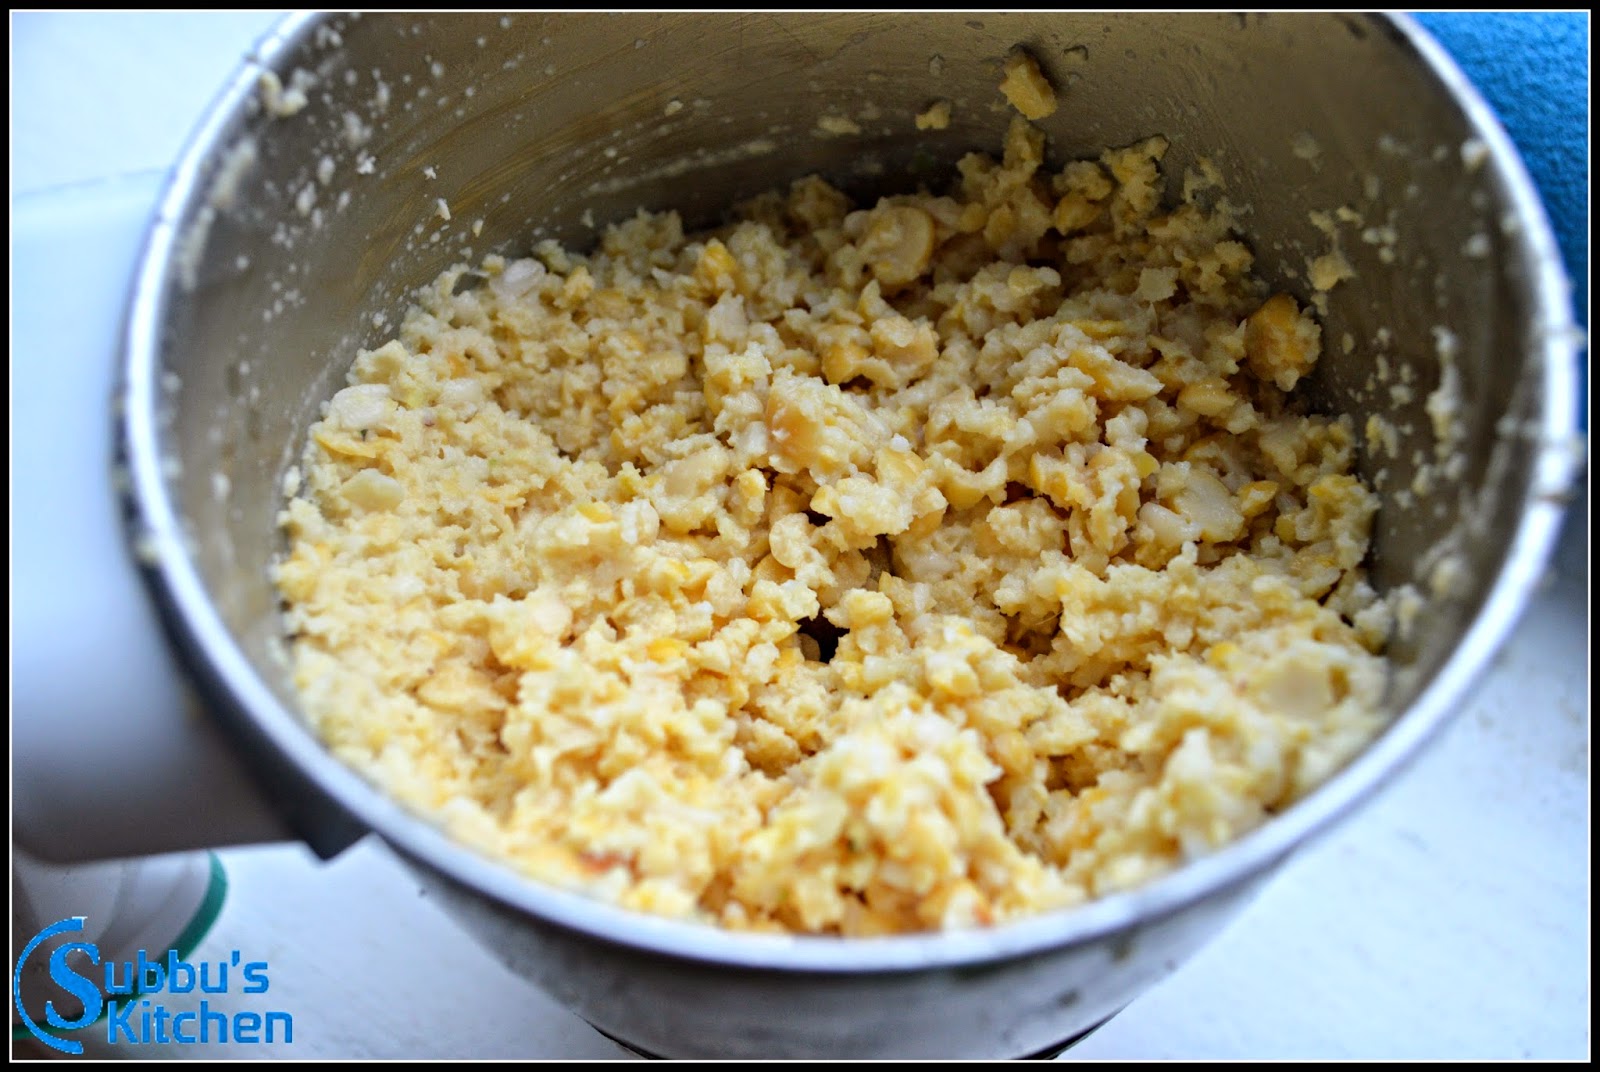
- Vadai mixture should be coarse with dal pieces. Only if the vada mixture is coarse the vada will be crispy while deep frying. Hence just give few pulses (pulse mode in mixer) to grind the dal mixture.
- It's recommended to grind the spices with only 2-3 handful of dal first. This way the spices will be nicely ground.
- You can take one handful of dal mixture separately (before grinding) and keep it aside. Add this to the ground dal mixture finally and mix well. This way you get some whole dal in the vada which adds crunchiness.
- For Neyvedhyam (God offering), we don’t add the Onion / Garlic / Masala. If you are making this for evening snack, then you can add these to make more flavorful and tasteful.
- Don't make the vada too thin or too thick. We need nice crispy texture outside and soft texture inside.
- Deep fry in low flame with occasional flipping of vada to make sure its not getting burnt and we get a lovely golden brown with crispy texture.
Recipe card to make Paruppu Vadai

Paruppu Vadai | Mixed Dals Vada | No Onion No Garlic Paruppu Vada
Equipments Needed
- Heavy Bottomed Pan
- Mixer Grinder
Servings: 10 vadai
Calories: 91kcal
We usually make Paruppu Vada for festivals, functions and as an offering to god. For such occassions while making the vadai, we don't add onion / garlic and masalas to the vadai, yet this vadai will be Crunchy, Yummy and Flavorful Vadai. This can be made both for offering to the God as well as for Teatime Snack.
Print Recipe
Ingredients
- ¾ cup Split Bengal Gram (Channa Dal / Kadalaparuppu) 1 cup = 250 ml
- 2 tablespoon Whole Urad Dal
- 2 tablespoon Toor Dal
- 1 teaspoon Raw Rice
- 1 inch Ginger
- 2 nos Green Chili
- 2 nos Red Chili
- 1 sprig Curry Leaves
- 1 tablespoon Coriander Leaves optional
- ¼ teaspoon Asafoetida (Asafetida / Hing)
- 1½ teaspoon Salt adjust to your taste
- 2 cups Oil for deep frying the vada
Instructions
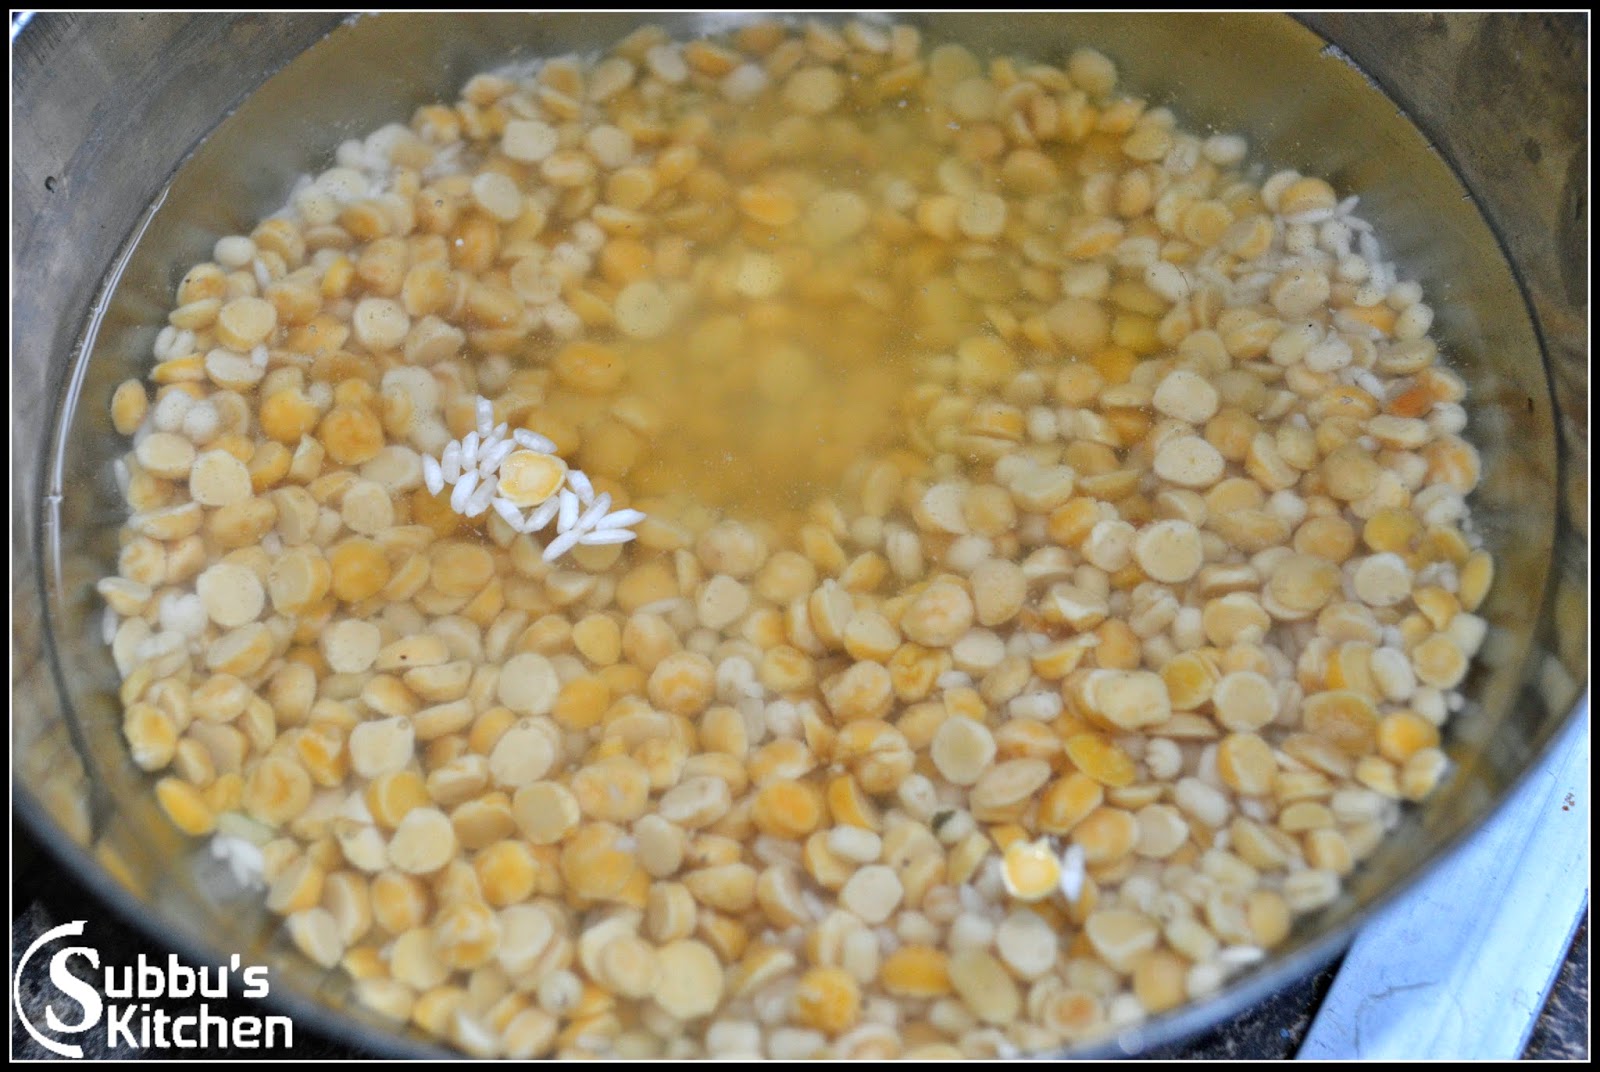
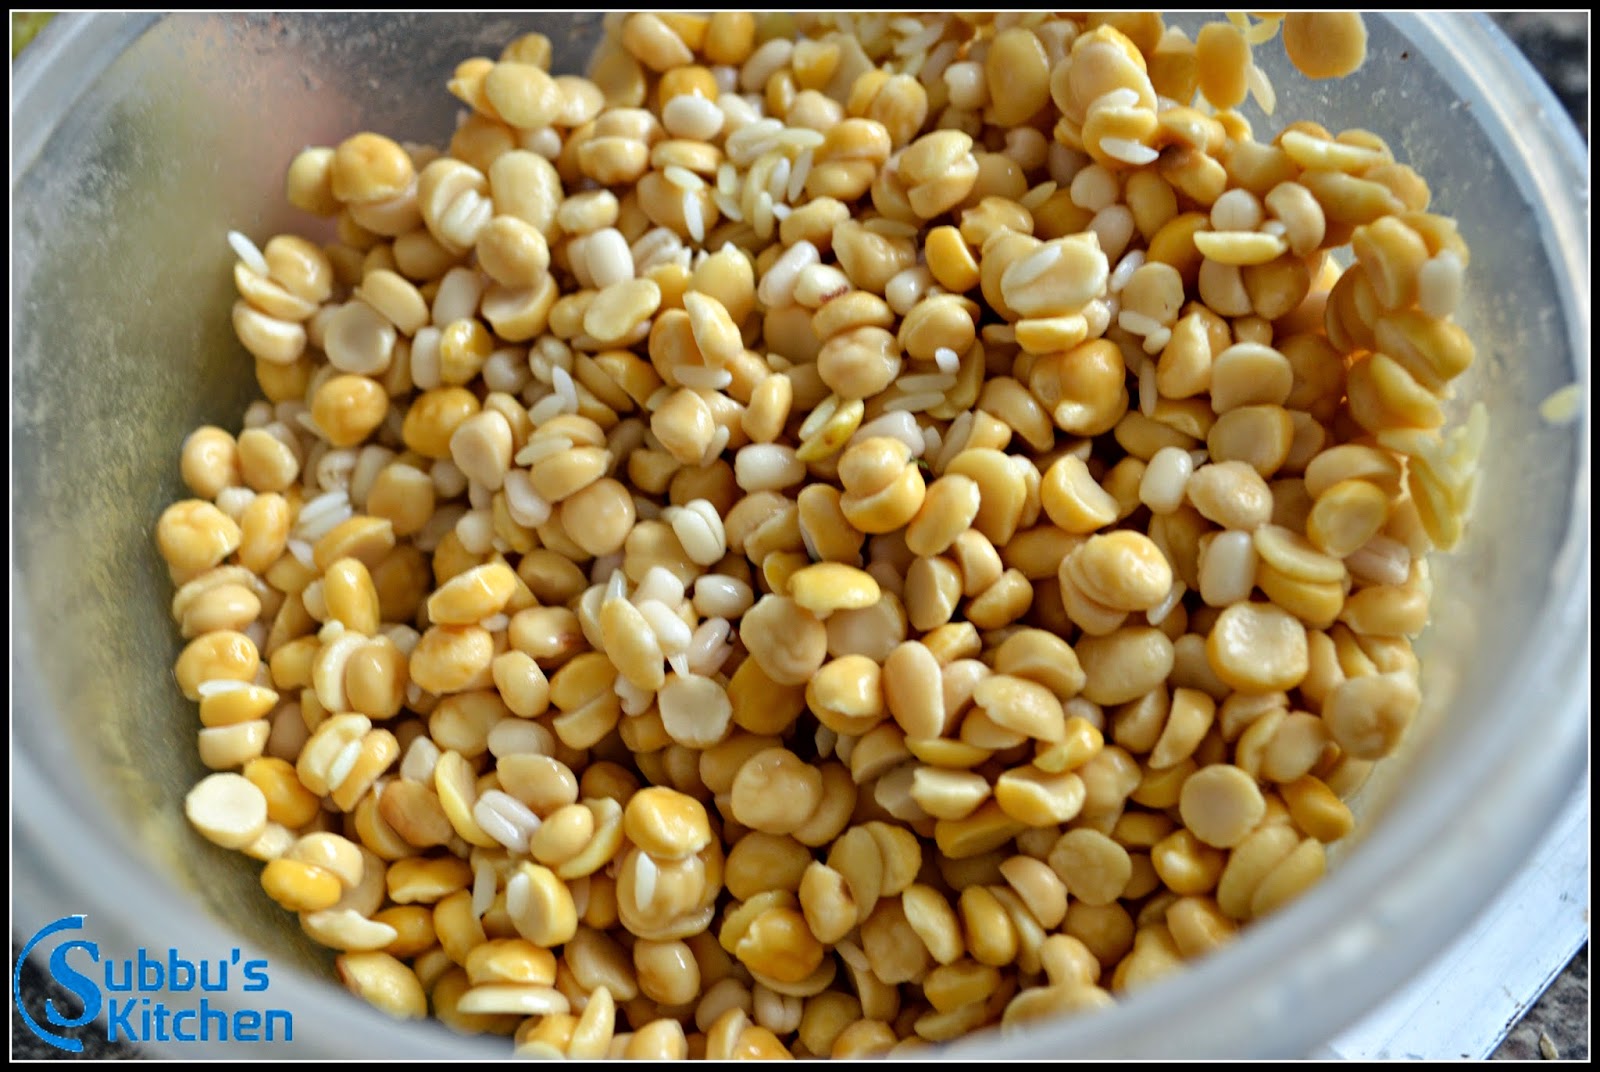
Soak the Dal in water
- Mix all the dals and raw rice and soak the dals in water for atleast 3 hours. After 3 hours drain the water and keep it aside for 10 mins for the moisture to drain completely.
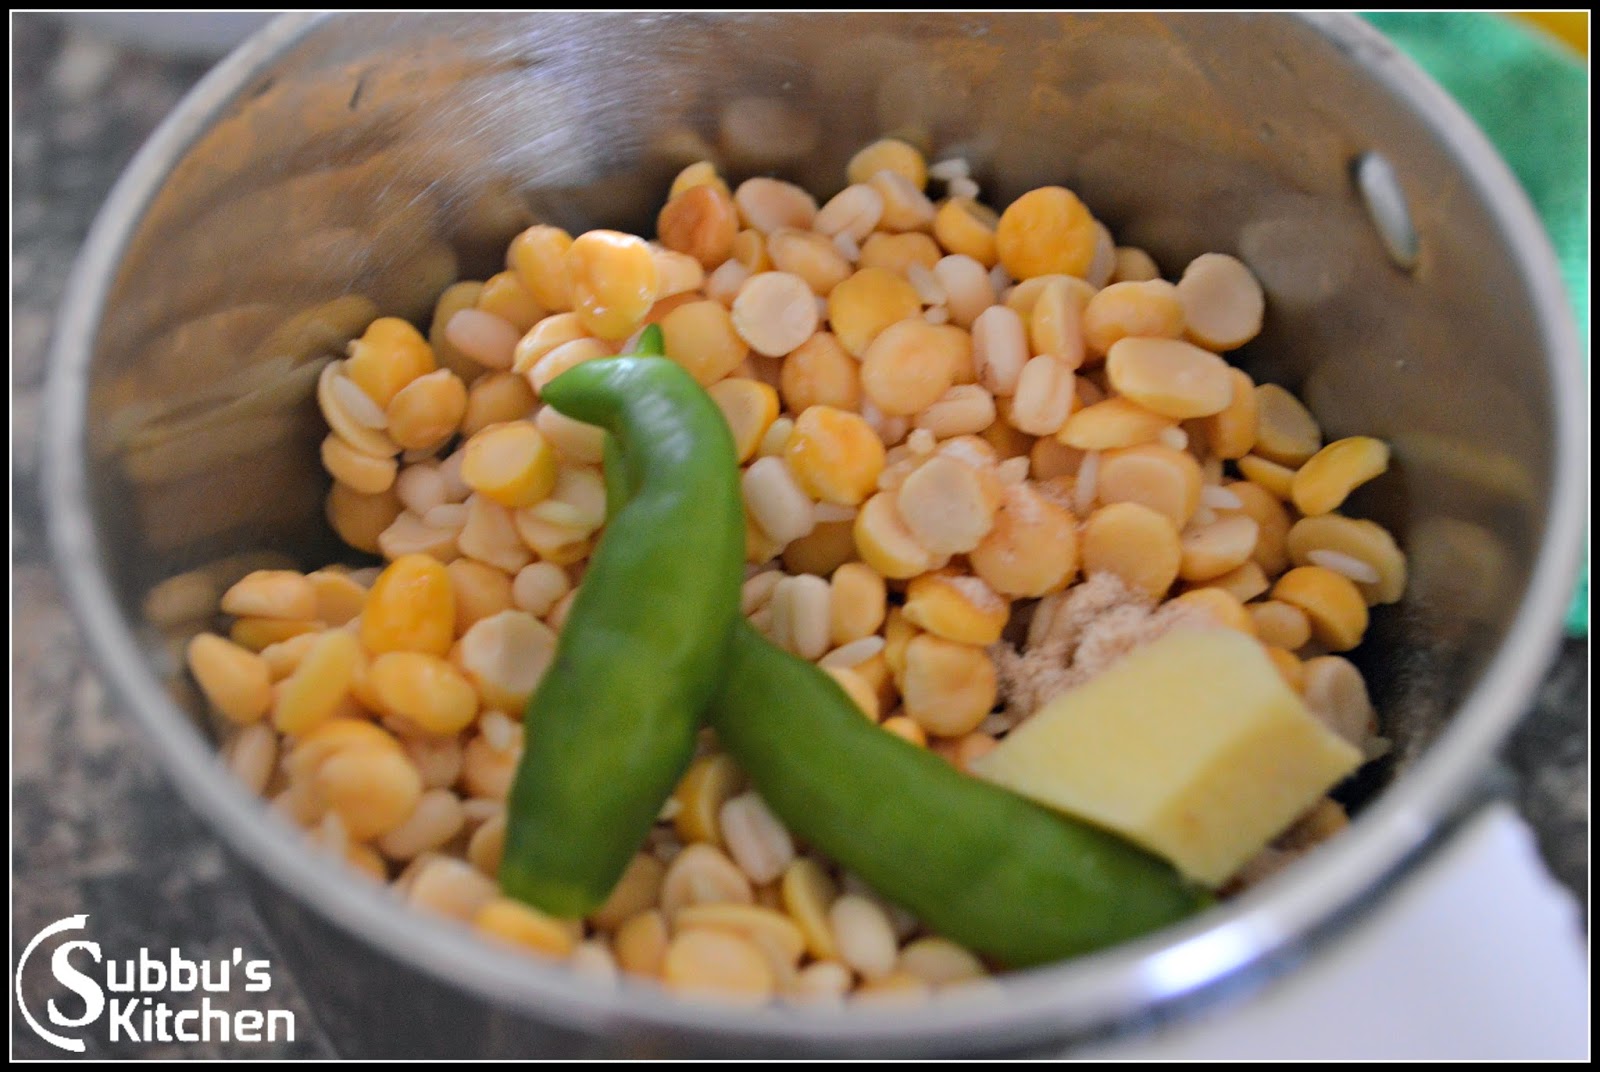
Grind the Dals - Step 1
- After an hour, Take 2-3 handful of soaked dals in mixer jar. Add green chilli, red chili and ginger. Grind them without adding water till the ginger, green chillies are ground smooth. Take this aside.
Grind the Dals - Step 2
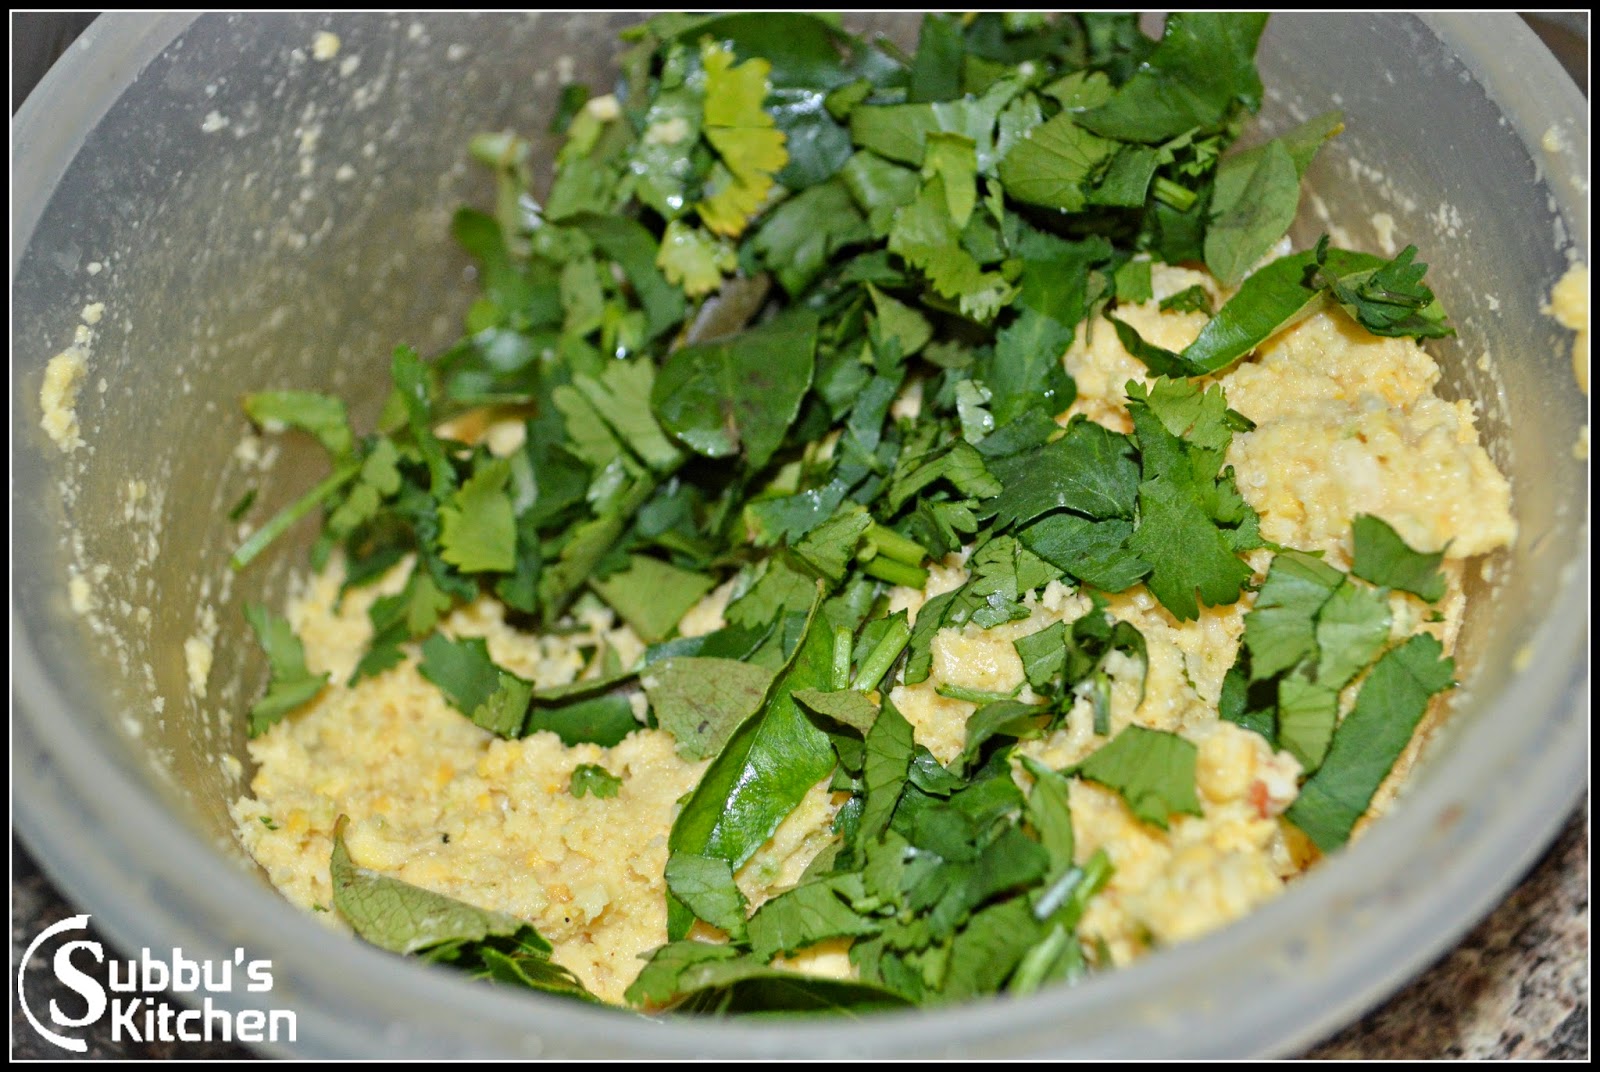
- Add the remaining dal to the mixer and just give a couple of pulse. We need coarse dal mixture hence grinding it in 'PULSE' mode is good enough. You can do this few cycles depending on the quantity of the dal and size of your mixer container. Add this ground coarse dal with the smooth ground dal and mix well. Also add salt, curry leaves and chopped coriander leaves and mix well.
Fry the Vadas
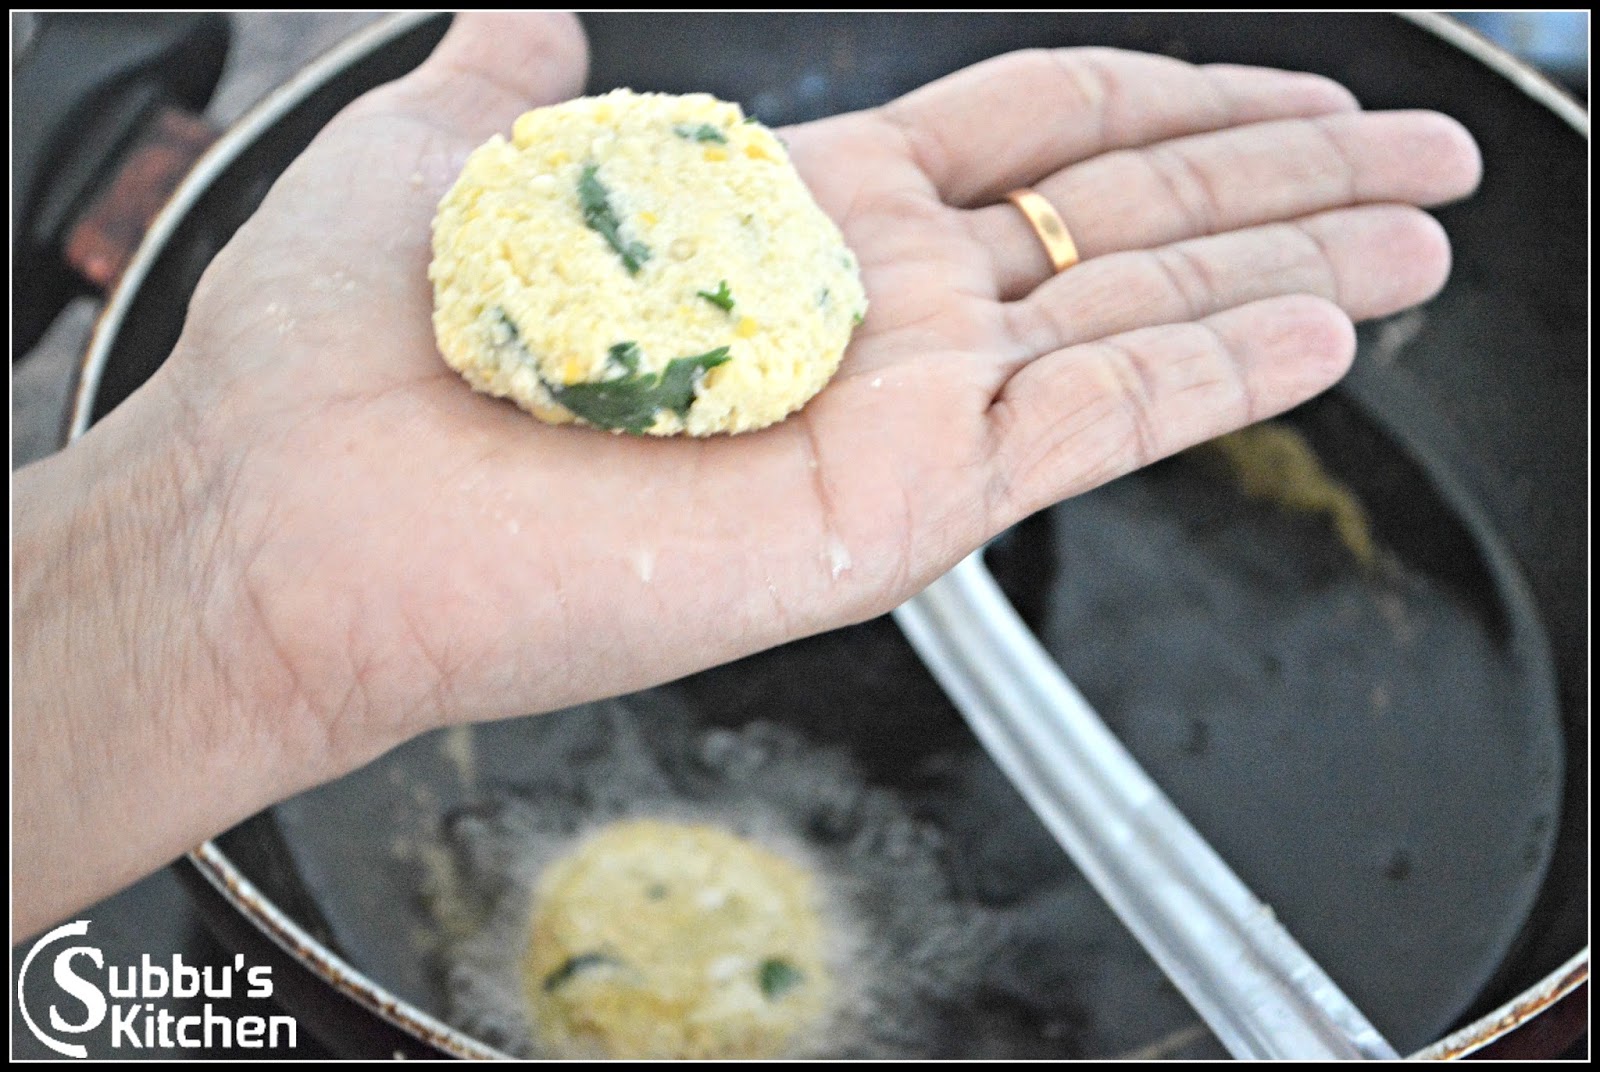
- Heat the oil in a kadai and once the oil is hot, take small quantity of ground dal and and press it in the center and gently drop it in the oil and deep fry it. Keep flame in low and fry the vada.
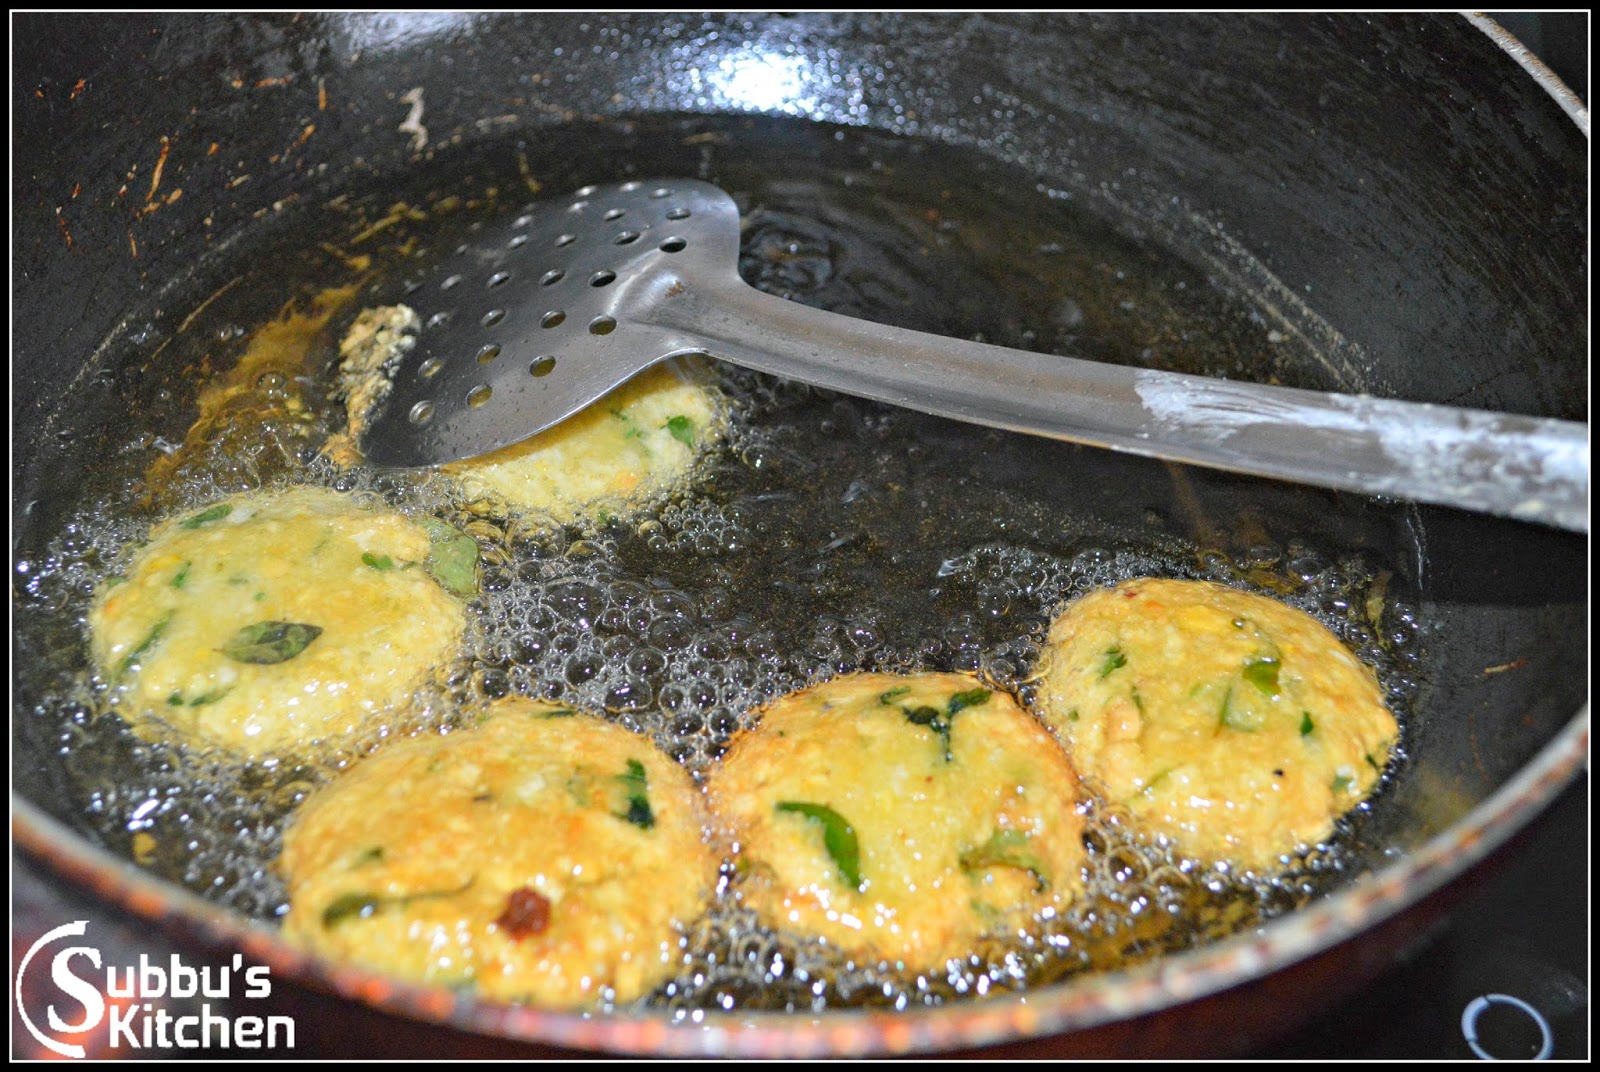
- Flip the vada occasionally to make sure the vada is fried evenly on both sides. Once the Vadai becomes golden color take it out in a bowl with a paper towel to dry the oil and serve hot. Repeat the step for the remaining vada batter.
Serving Time !
- The yummy and crispy paruppu vadai are now ready for neivedhyam or for serving!
Video
Notes
- Soak the dals atleast for 3 hours.
- Drain the water completely before grinding. We don’t need to add water while grinding.
- Vadai mixture should be coarse with dal pieces. Only if the vada mixture is coarse the vada will be crispy while deep frying. Hence just give few pulses (pulse mode in mixer) to grind the dal mixture.
- It’s recommended to grind the spices with only 2-3 handful of dal first. This way the spices will be nicely ground.
- You can take one handful of dal mixture separately (before grinding) and keep it aside. Add this to the ground dal mixture finally and mix well. This way you get some whole dal in the vada which adds crunchiness.
- For Neyvedhyam (God offering), we don’t add the Onion / Garlic / Masala. If you are making this for evening snack, then you can add these to make more flavorful and tasteful.
- Don’t make the vada too thin or too thick. We need nice crispy texture outside and soft texture inside.
- Deep fry in low flame with occasional flipping of vada to make sure its not getting burnt and we get a lovely golden brown with crispy texture.
Nutritional Info
Nutrition Facts
Paruppu Vadai | Mixed Dals Vada | No Onion No Garlic Paruppu Vada
Amount Per Serving (1 Vadai)
Calories 91
Calories from Fat 58
% Daily Value*
Fat 6.4g10%
Sodium 7.4mg0%
Potassium 75.3mg2%
Carbohydrates 6.2g2%
Fiber 1.5g6%
Protein 2.1g4%
Calcium 7.9mg1%
Iron 0.5mg3%
* Percent Daily Values are based on a 2000 calorie diet.
Tried this recipe?Mention @subbuskitchen or tag #subbuskitchen!
Subscribe to our YouTube ChannelSubscribe! to get Latest Subbuskitchen Video Recipes
Good PracticeAll the Images and videos are Copyright Protected. So please do not copy the content or images. If you want to use, please ask for it
Method to make Paruppu Vadai with step by step pictures :
- Mix all the dals and raw rice and soak the dals in water for 3 hours. After 3 hours drain the water and keep it aside for 10 mins for the moisture to drain completely.
- After an hour, Take 2-3 handful of soaked dals in mixer jar. Add green chilli, red chili and ginger without adding water till the ginger, green chillies are ground smooth. Take this aside.
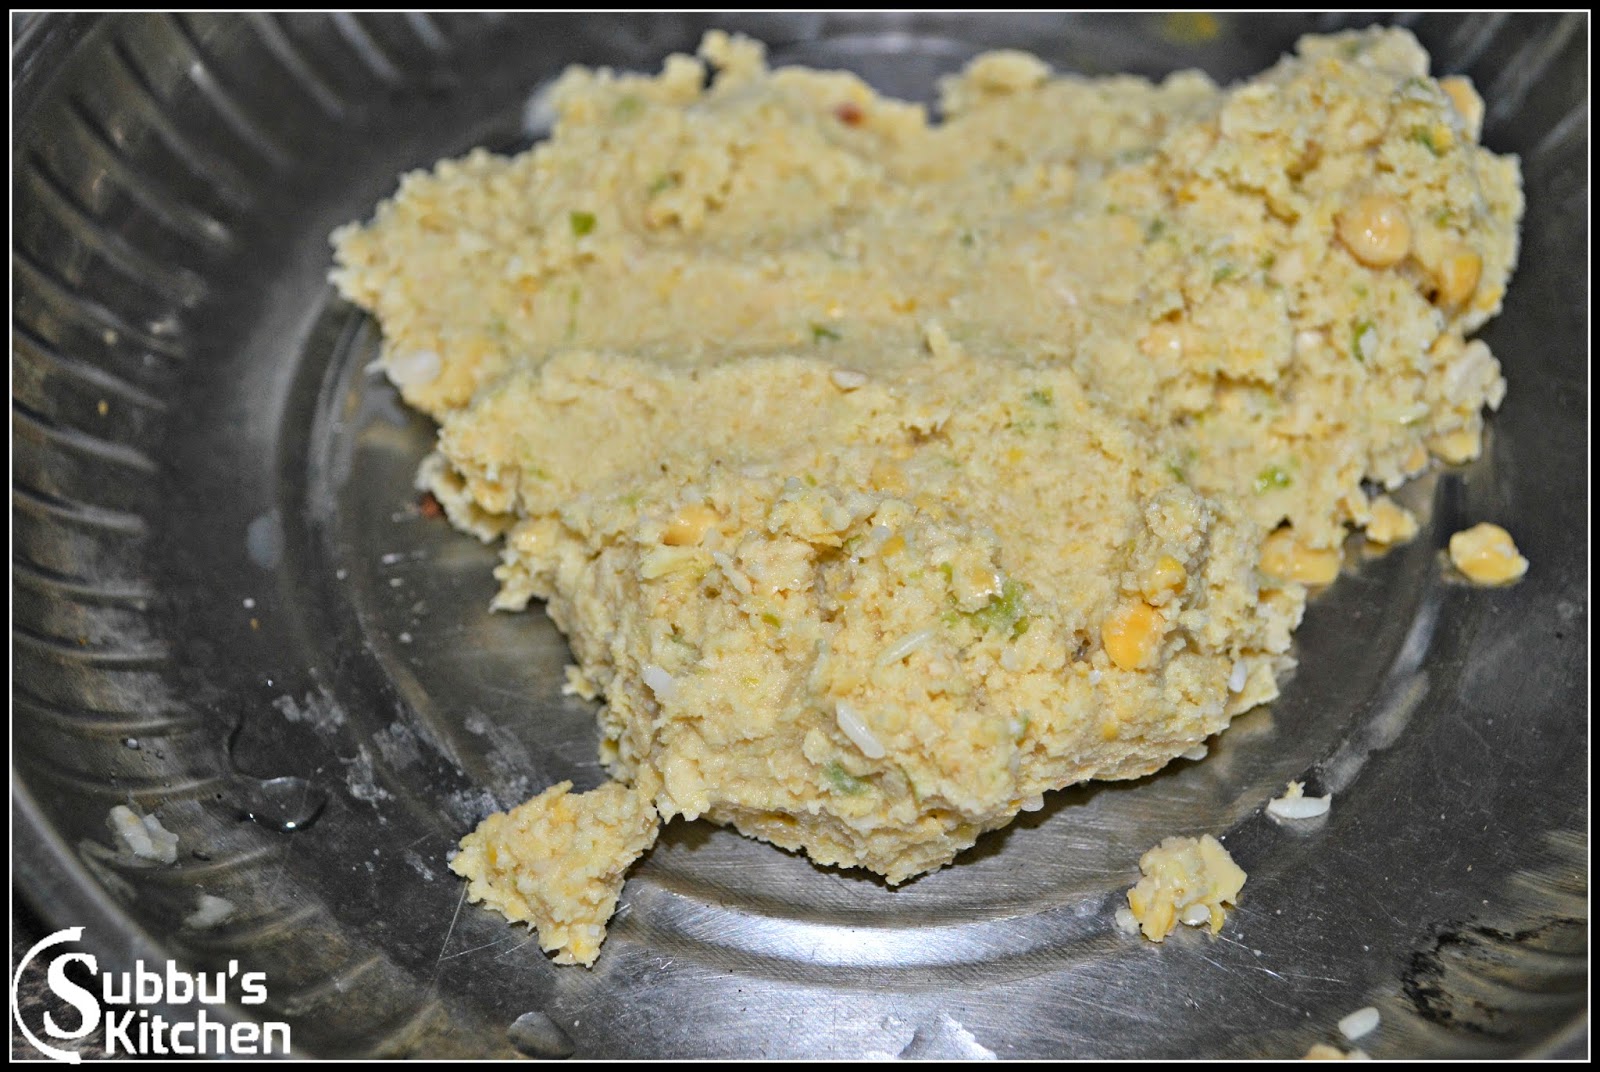
- Add the remaining dal to the mixer and just give a couple of pulse. We need coarse dal mixture hence grinding it in 'PULSE' mode is good enough. You can do this few cycles depending on the quantity of the dal and size of your mixer container. Add this ground coarse dal with the smooth ground dal and mix well. Also add salt, curry leaves and chopped coriander leaves and mix well.
- Heat the oil in a kadai and once the oil is hot, take small quantity of ground dal and and press it in the center and gently drop it in the oil and deep fry it. Keep flame in low flame and fry the vada. Flip the vada occasionally to make sure the vada is fried evenly on both sides. Once the Vadai becomes golden color take it out in a bowl with a paper towel to dry the oil and serve hot. Repeat the step for the remaining vada batter.
- The yummy and crispy paruppu vadai are now ready for neivedhyam or for serving


